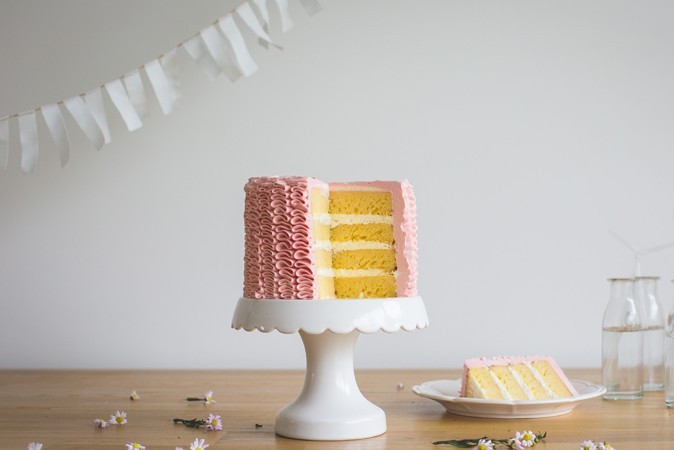
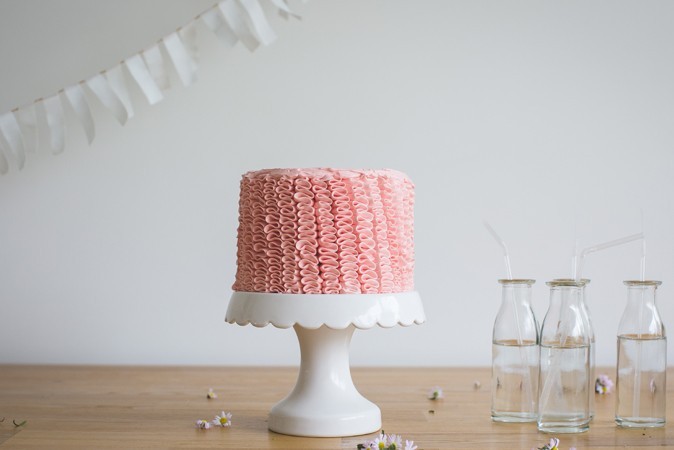
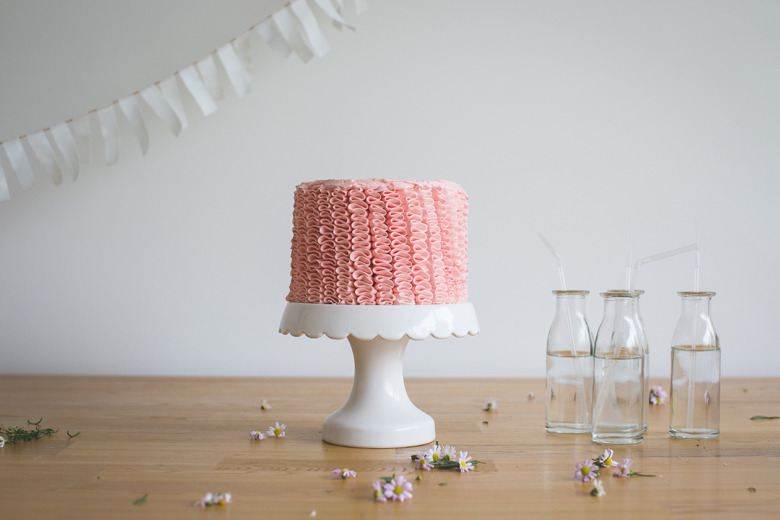
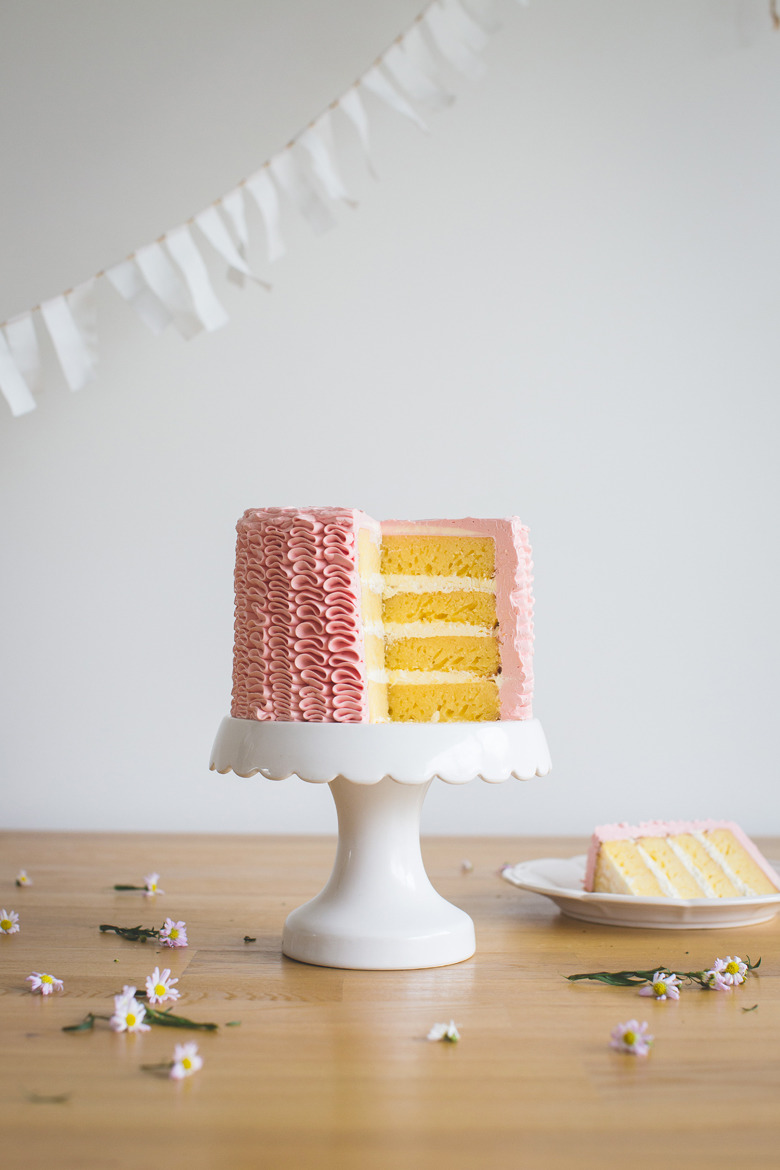
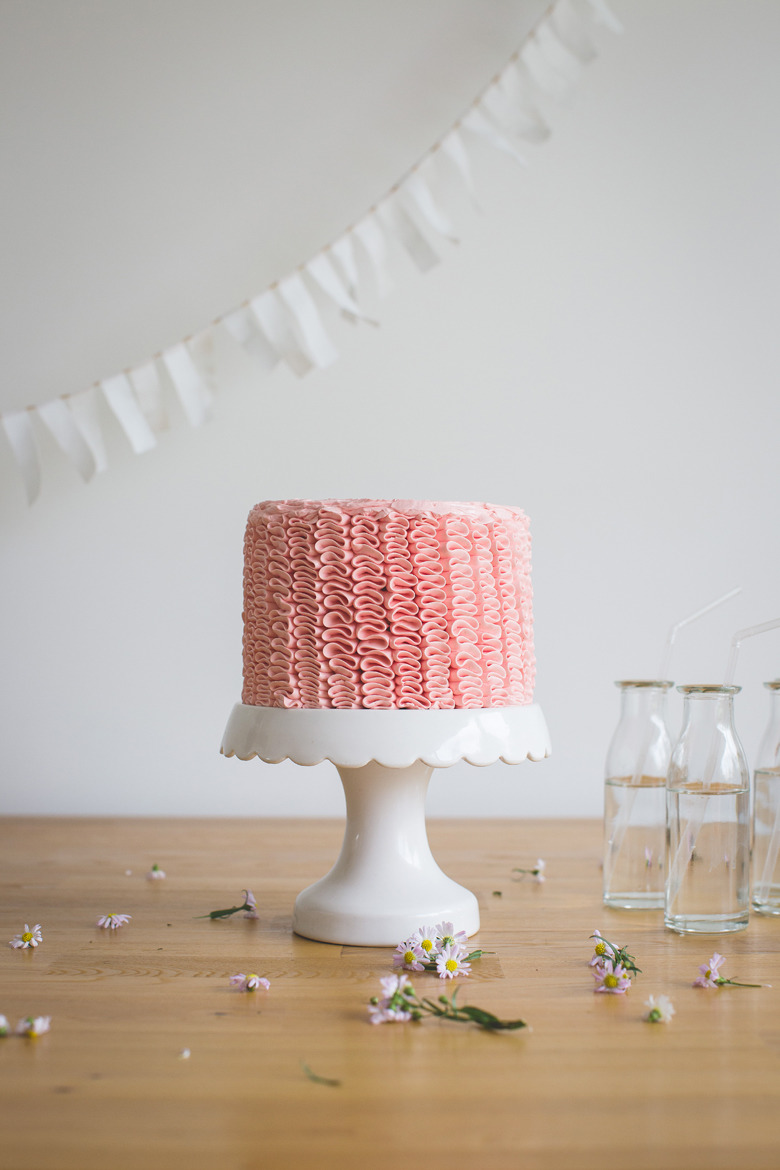
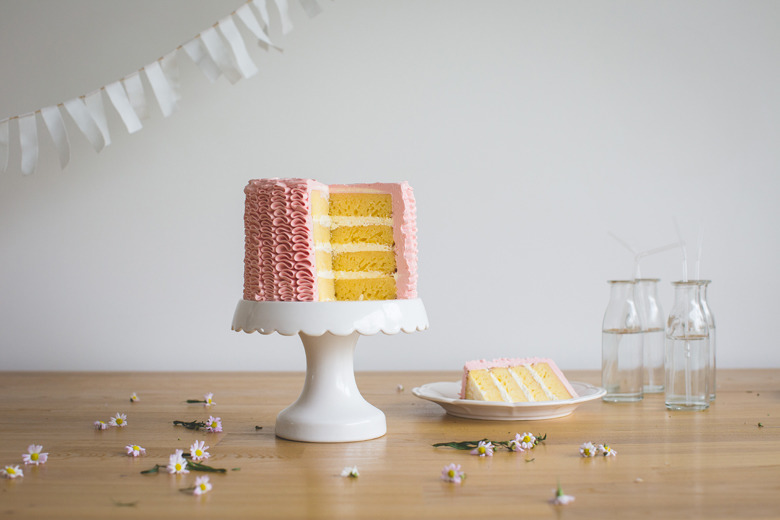
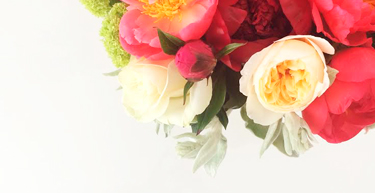
I have such a soft spot for Ruffle Cakes, this beautiful cake was the very first cake I’d ever tried this gorgeous icing technique, and of course the start of my love for cake decorating. I’ve now lost count of how many times I’ve made a ruffle cake, they’re so beautiful and once you get the hang of the technique it’s a very quick cake to make. I’m so thrilled to share this lovely styled shoot of my ruffle cake that All the Frills styled for me and Coralee Stone photographed - it’s too beautiful for words and really is one of those cakes that makes a lovely impact on your dessert table this season. My favourite part about ruffle cakes is that they’re always different, I find it really lovely that no two are ever the same - if you try your hand at this gorgeous recipe, I’d absolutely love to see your ruffle cake. I hope you’re all having a lovely day so far, happy baking and of course, cake decorating. x
Recipe
Vanilla Cake
Preheat oven to 160°C and butter and flour a round 6” cake tin. In a large mixing bowl add the flour, baking powder and sugar and whisk to combine. Add the milk and vanilla to the dry ingredients and mix until well combined. Scrap down the sides of the bowl and add the eggs one at a time until well combined. In a small sauce pan gently melt the butter and add to the cake batter, continue to mix until well combined.
Divide your cake mixture into your prepared tin and bake for 20-35min or until a skewer inserted comes out clean. Allow to cool in the tin for 10min before turning onto a wire rack to cool completely. If you are like me and only have one cake tin (not three of the same size) make sure you throughly clean the cake tin after each use and run it under cold water to cool it down between uses – you will also have to prepare the cake tin each time for each cake.
Allow the cakes to cool completely before carefully cutting the top dome off the cake with a bread knife so the cakes are flat. Set aside while you make your icing.
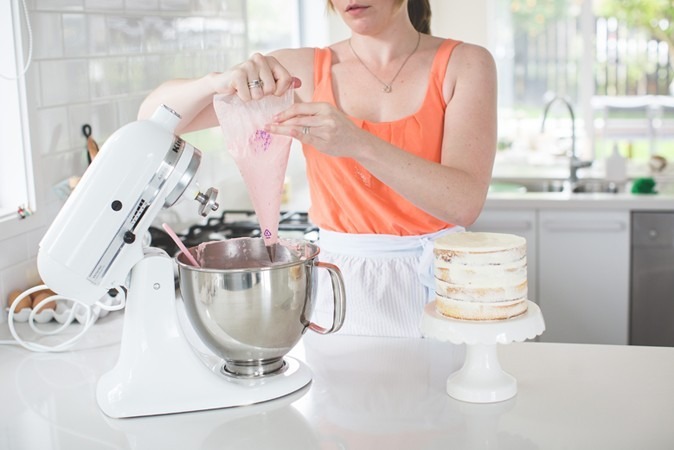
Swiss Meringue Buttercream
Using a paper towel with white vinegar wipe the bowl and beater of an electric mixer, to remove any traces of grease - this will help the egg white double in size. Add thee egg whites and sugar to a heat proof bowl and place over a pot of simmering water (not boiling). Whisk the sugar and egg whites constantly, until temperature reaches 140 degrees F, if you don’t have a candy thermometer, whisk until the sugar has completely dissolved and the egg whites are hot to touch and very runny.
With a whisk attachment on a electric mixer, whip the egg white and sugar mixture on a medium/high speed until thick, glossy, and the bowl is cool to touch. Switch over to paddle attachment, continue mixing the meringue mix while you gradually add the chopped butter. Mix until well combined and silky smooth – this icing can curdle, if it does, keep mixing and it will come back to smooth. Add the vanilla essence and mix well. If you’re tinting your icing, gradually add a little rose gel food colouring to the icing until you have your desired colour.
* I used wilton rose you only need the smallest amount possible, so be careful. You can keep the buttercream in airtight container in refrigerator for up to one week, be sure to leave it out at room temperature when needed and rewhipping in mixer for 5-10 minutes until smooth again. It can also freeze for up to 6-8 weeks.
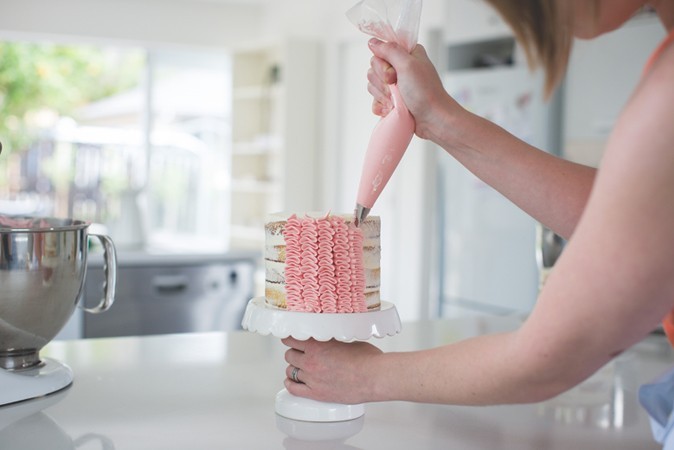
assembling your mini ruffle layer cake
Add 1/4 cup of icing to the top (uncut side of the cake) gently smooth until flat and lightly crumb coat the sides of the cake, place in the fridge for 5-10min to cool. Add the next layer of cake and repeat the first step. Repeat until you have all your cakes layered. Refrigerate your cake for at least 10min before adding the ruffles.
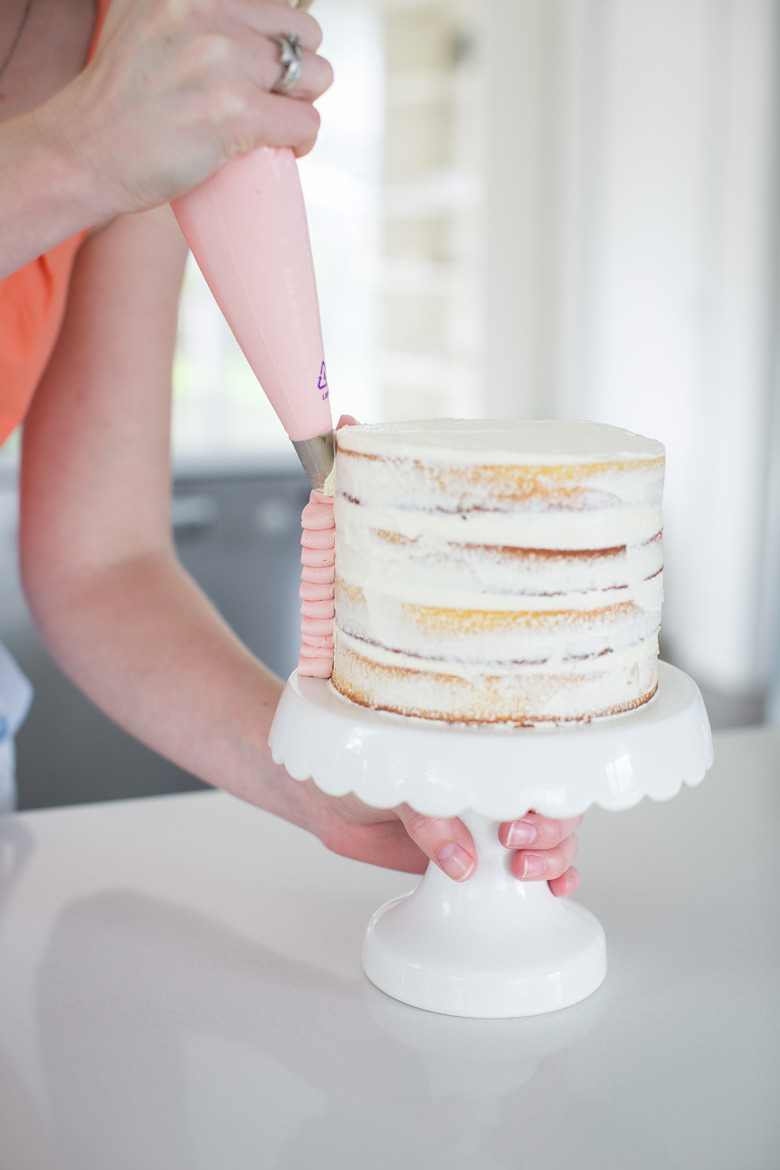
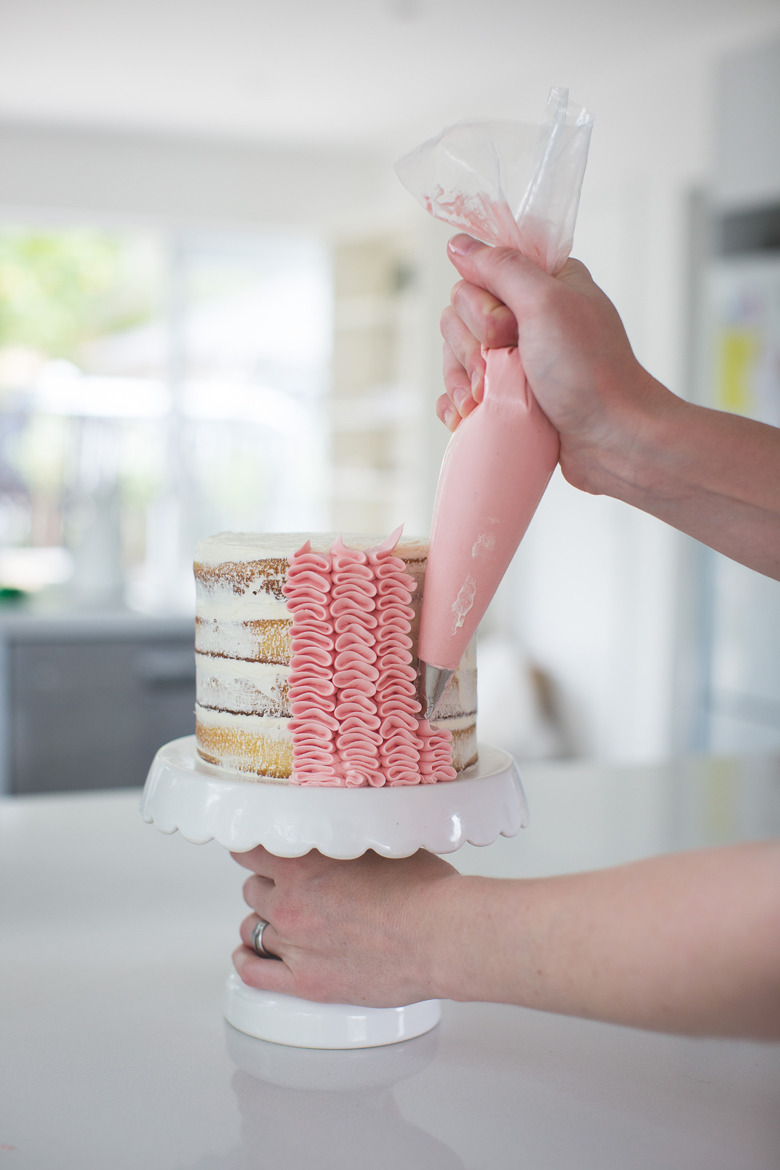
Using a wilton 104 tip or petal tip (one that tapers from big to small) fill your icing bag half full with the swiss meringue butter cream. Starting at the bottom of the cake with the skinny side of the tip facing towards you. Pipe in a small back and forth motion to the top of the cake, continue this motion around the whole cake. To ice the top, have the skinny side of the tip pointing to the outside of the cake and go back and forth around the top of the whole cake, then again and again until you have reached the middle. You know have a beautiful ruffle cake!
tips
It helps to keep your hands cool while you are icing so that you don’t melt the butter – every other time you re-fil the icing bag run your hands under cold water… or if you are like me and have naturally cold hands you can skip this step. Don’t over fill your bag with icing, it will become a lot harder to handle – half full is perfect. When you fill your icing bag, pipe a little back into the bowl, this helps to push the icing down and get rid of any air bubbles.
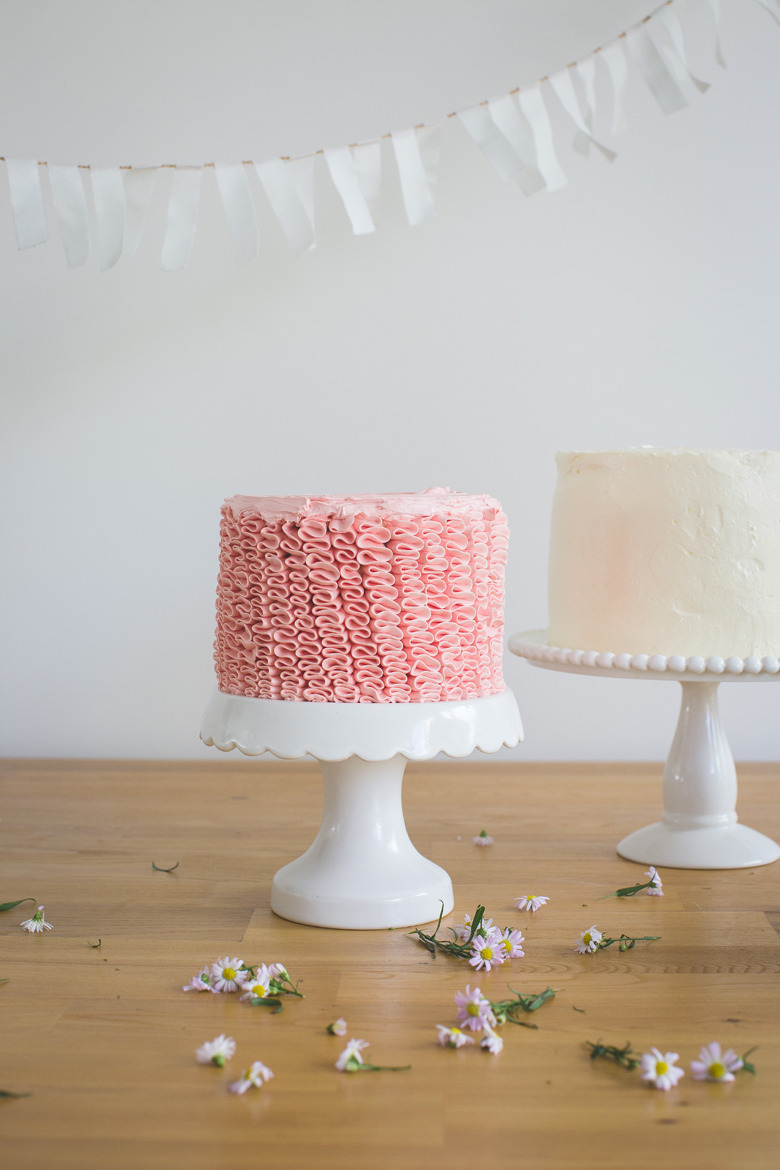
Truly honoured and so excited to launch the new Made From Scratch blog - take a peek, enjoy and treat yourself to a slice or two of this delicious vanilla petal cake!


follow made from scratch On